To make the most of your recent purchase, follow these instructions to learn how to use your Easy Updo extensions most effectively.
People want to see something perfect out of the package, but the most important tip to demonstrate first is how to prep by loosening the extensions. Watch Tip #1 and Tip #2 at Easy Updo 101.
Next, if the hair is long enough, place them inside the sections to make them look thicker and let the rest hang down to loosen and flatten with your thumb and forefinger when you loosely fold them in while braiding. These techniques bring natural looking style, volume, and the illusion of length.
For a downloadable pdf with written instructions, please click here: Three Extension Guide
To get the most out of your Easy Updo extensions, watch our video tutorials at Easy Updo 101 Style Tips & Tricks. On this page, all the below steps are broken into quick, easy to watch videos. Once you’ve gotten the hang of them, you can enjoy extra volume in seconds!
You can also view a longer, voiceover tutorial on how to create a style using three extensions at our Starter Styles page.
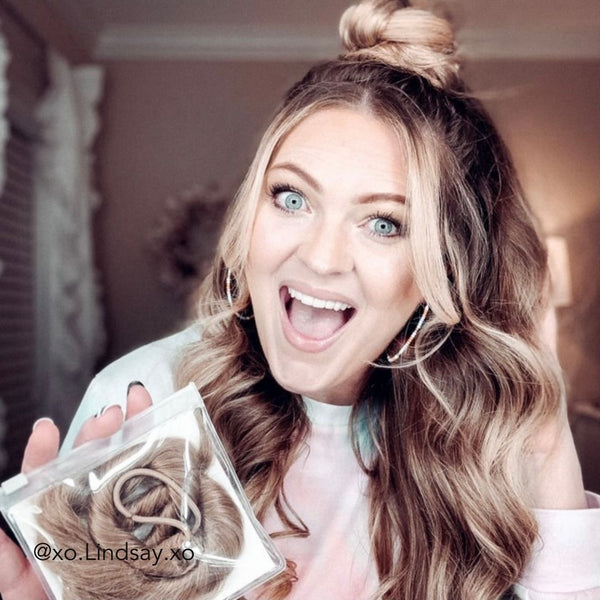
The extensions are twisted, so you’ll want to start by alleviating some of the tightness. Hold one end of the extensions, then use your other hand to carefully unwind the opposite end. As you let go, it will instantly twist back into position, so be sure to repeat this motion a couple of times. You can also use a dry texture spray to add even more volume to complete this step. If you are a visual learner, you can watch a tutorial here.

Wrap the no-metal elastic around your hair and into a ponytail, being sure to let the extensions hang out of the way. Divide your ponytail into three sections, and place one extension in each section. (If you have long hair, put each extension within each of the three sections so they appear thicker.) The 22-inch long twisted extensions will fall below your hair adding to the illusion of length and finished bun volume.
Next, braid your hair with the extensions. As you reach the end of your hair, continue braiding the extensions by folding them in, maintaining loose tension as you work. You can make the extensions look like your own hair by loosening and flattening the twisted strands with your fingers. Once you've finished, gently tug on some of the pieces to loosen up your braids a bit for a softer look.

The next step is to wrap the thicker braided ponytail around the base. Take hold of the base with one hand and grip the ends of the extensions in the other hand. Then wrap the ends around the base. To secure the hold, use the bobby pins and hairpins included with your extensions as you wrap.
Once you've finished wrapping the entire length of the extensions, twist the ends together and tuck them beneath the knot. Be sure not to let go of these ends until you’ve secured them in place with your pins.

Secure your braided updo by carefully pinning. Open a bobby pin with your fingers and then gently slide it into the updo and capture the extension ends. Repeat this step with the enclosed bobby pins, making sure that each pin secures a small part of the extensions with the hair close to your head.
Only work with small amounts of hair; otherwise, the pin will not be able to keep the extensions in place. Work around your updo until it is in place and use the enclosed hair pins to secure larger sections of hair.